Job Scheduler
The “Job Scheduler” component mainly allows users to submit jobs and manage their templates. Apart from that, it also provide a file manager and allow listing of resource reservation.
Jobs
Click “Job Scheduler” → “Jobs” in the system menu to access the job list as shown in Figure 4.1.
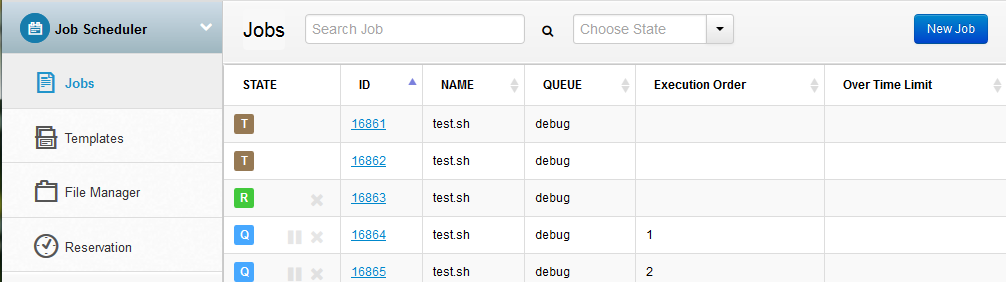
Figure 4.1: Job List
The “Search Job” input box allows user to find jobs based on its name. The search can also be filtered based on job states using the “Choose State” drop down menu. See Figure 4.2 for an example.
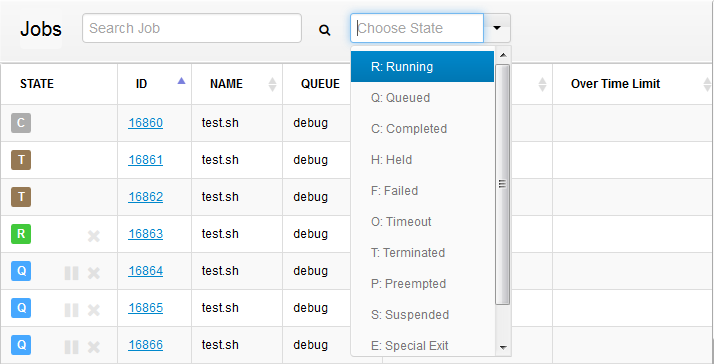
Figure 4.2: Choose State
The description of each state is as follows:
-
C Completed: The job has been completed. The record of a job will be removed after a pre-defined period of time.
-
E Exiting: The job is exiting after having run. The system is logging various information and saving the outputs. The state generally lasts for only a short period of time.
-
F Failed: The job failed to run.
-
H Hold: The job is held and not queuing. It will be put back to the queue once the hold is released.
-
O Timeout: The job ran for longer than the set run time.
-
P Preempted: When the job runs, it is preempted by other jobs of higher priority and stopped. Whether or not this job will re-run depends on the user’s settings for the Slurm policy. (The default scheduler prevents jobs from preempting resources.)
-
Q Queue: The job is waiting for required resource to start running.
-
R Running: The job is running on the cluster.
-
S Suspended: functions specific to UNICOS, not supported by Linux.
-
T Terminated: The job has been canceled or stopped to execute.
-
W Waiting: The set job run time is not yet reached, so the job is waiting to run.
Detailed Job Information
The details of a job can be displayed by clicking the ID of a job in the list. See Figure 4.3 for an example.
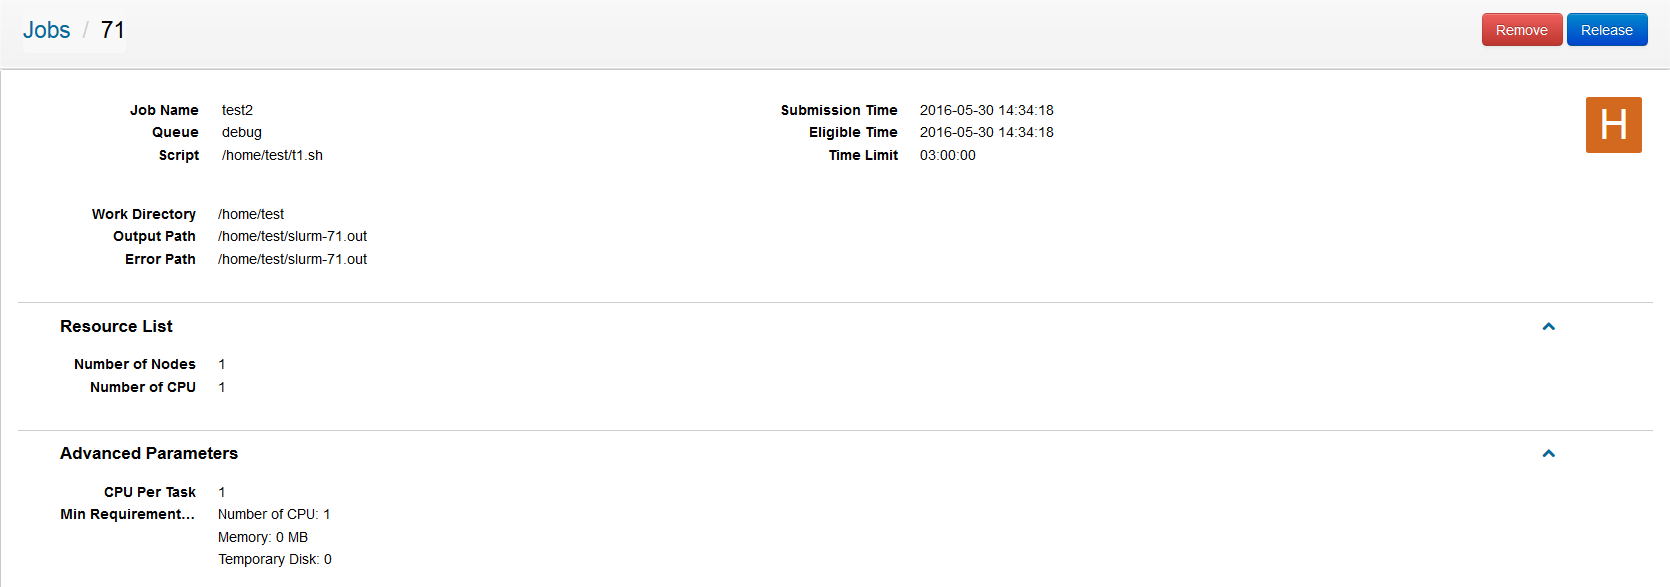
Figure 4.3: Job Details
Removing Job
To remove a job (not completed) from running, follow these steps.
- Click the ID of a job in the job list.
- Click “Remove”, as shown in Figure 4.4.
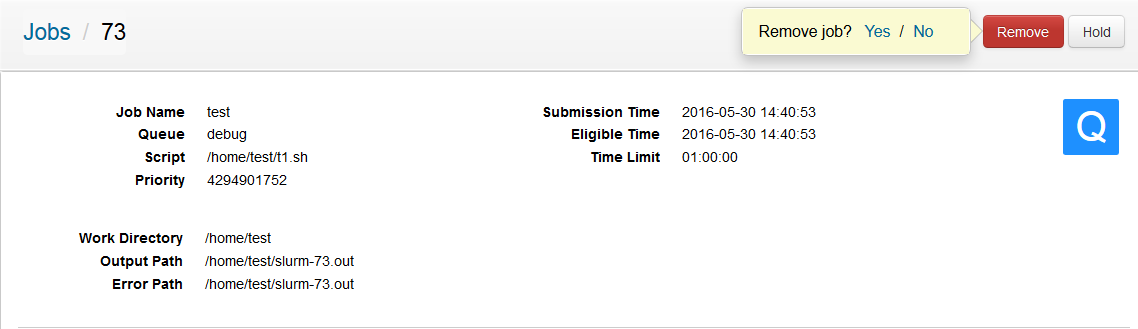
Figure 4.4: Removing Job
- When prompted, click “Yes” to proceed with the removal, or “No” to cancel it. This is shown in Figure 4.5.

Figure 4.5: Delete confirmation
Holding Job
A queuing job can be put on hold as follows:
- Click the ID of a job in the job list.
- Click “Hold”, as shown in Figure 4.6.
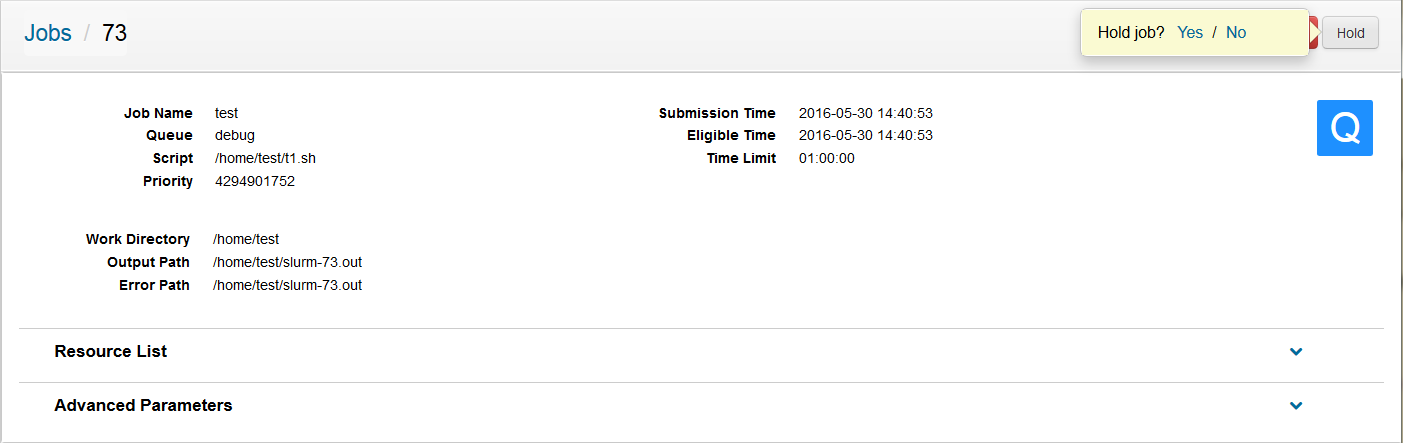
Figure 4.6: Holding Job
When prompted, click “Yes” to proceed with the holding, or “No” to cancel it. This is shown in Figure 4.7.
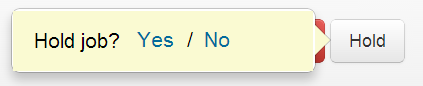
Figure 4.7: Pending confirmation
New Job
Users can submit a new job by clicking the “New Job” button in the job list, as shown in Figure 4.8.
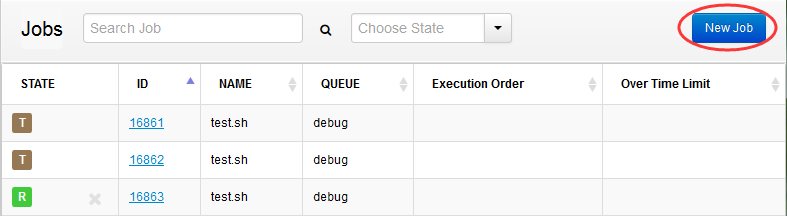 Figure 4.8: New Job
Basic Parameters of Job
See Figure 4.9 for an example.
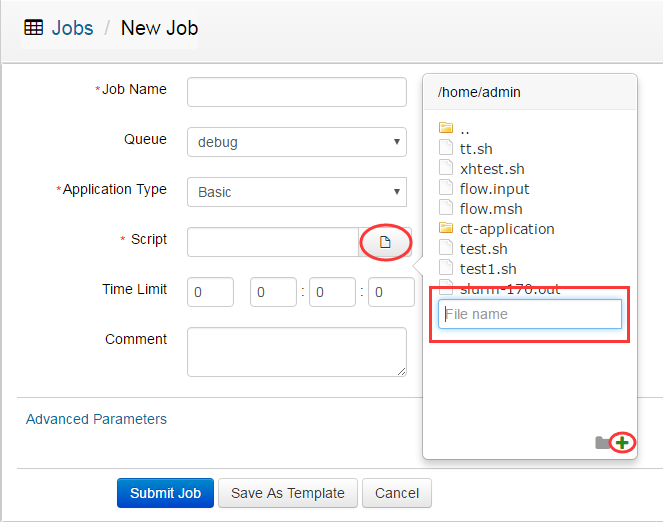
Figure 4.9: Basic Parameters of Job
Here are the steps for submitting a job:
- (Required) In the “New Job” page, enter the name of a job.
- Select the queue from the drop down menu.
- (Required) Select the “Application type”, which can be a script prepared by the user, or a pre-defined template.
- (Required) Choose the script, and click
 script, see Figure 4.9 after click
  button to choose the script, or click [+] to create a
button to see script or modify the content, see Figure 4.10.
button to choose the script, or click [+] to create a
button to see script or modify the content, see Figure 4.10.
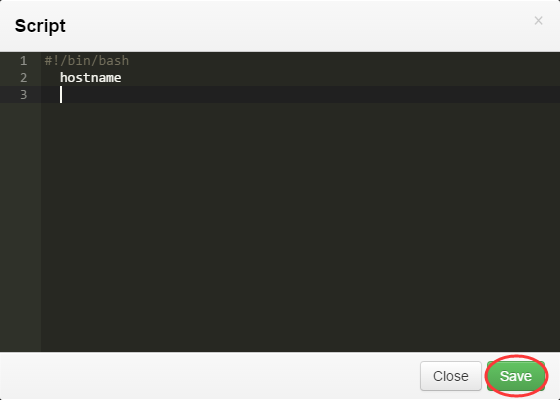
Figure 4.10: Editscript
- Set the time limit of the job.
- Add comments for the job.
Advanced Parameters
Additional parameters are available for advanced usage. See Figure 4.11 for an example.
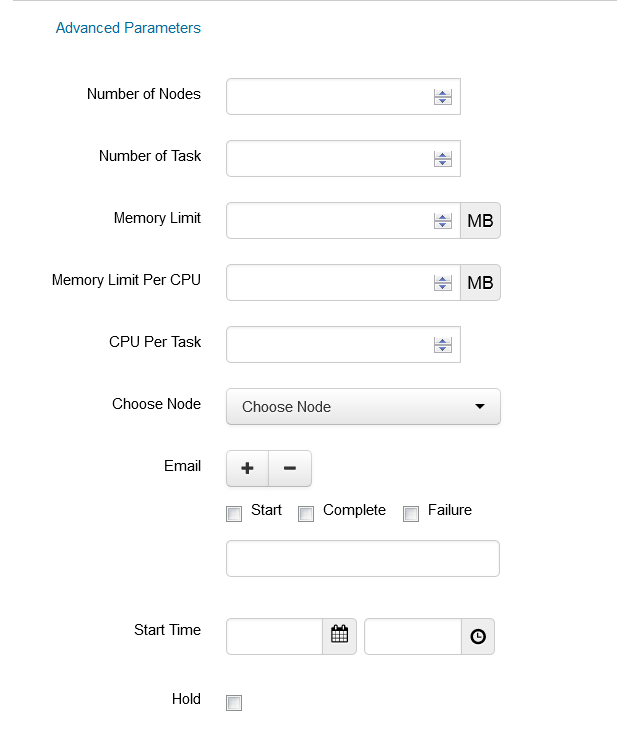
Figure 4.11: Advanced Parameters
Here are the details of the advanced parameters:
Number of Nodes: The maximum number of nodes that the job may use.
Number of Tasks: The maximum number of tasks that a job may dispatch.
Memory Limit: The maximum amount of memory that a job may use.
Memory Limit Per CPU: The maximum amount of memory that may be used by each CPU when running the job.
CPU Per Task: The maxmimum number of CPU’s that each task may use.
Choose Node: Limit the job to use a specific set of nodes.
Email: Email address to receive alerts when the job starts running, completes or fails. Check the respective box for the required alert. Email can send to one or more addresses via the “+” or “–” button to add or remove email address respectively.
Start Time The earliest time that the job can be started.
Hold: Checking this box to hold the job upon submission.
Finally, click the “Submit Job” to complete the job submission.
Saving as Template
Besides submitting a job, a user can click the “Save As Template” button to preserve the various settings for submitting similar jobs. See Figure 4.12 for an example.
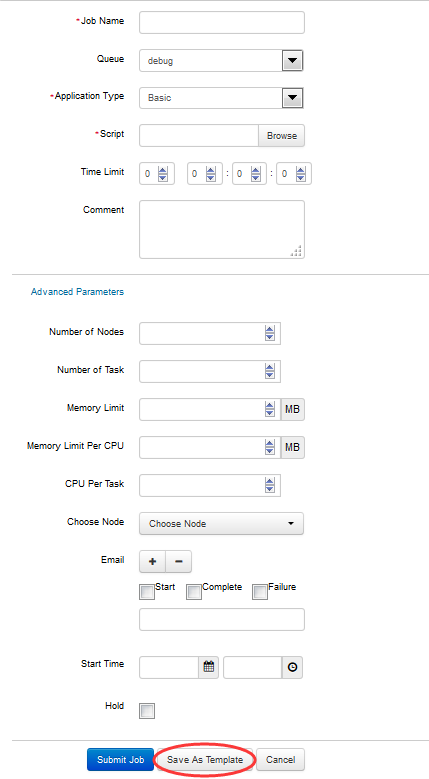
Figure 4.12: Saving Template